How to use MS Outlook rules to filter internal emails from external trusted, and untrusted mails
Last updated on March 13th, 2021
My job title is a magnet for spam, and the predictable format of email addresses across companies means I have to work my way through a load of targeted spam everyday.
Spam filters do a great job, but targeted spam is difficult to identify, as it’s sent person to person, it’s just unwanted direct e-mail.
I recently took some time to setup some rules in MS Outlook, and this has made a massive difference, so thought I’d share this approach, in-case it helps others…
The Aim
To prevent me from auto-ignoring mail, I highlight mail from External Trusted Senders, and External Untrusted Senders, so I can look at these separately.
The Approach
I setup categories for External Trusted Senders, and External Untrusted Senders. The inbox view automatically highlights these as such, so they are easy to ignore day-to-day (I prefer this to auto-deleting them, as there’s always the odd new sender I haven’t added to my trusted list).
I then use a search folder to separately view the External Untrusted Sender emails. I quickly look through this folder every week to spot any external senders I need to add to my trusted list, I just select the rest of the emails and delete them in one go! At this point, I feel quite smug!
Steps
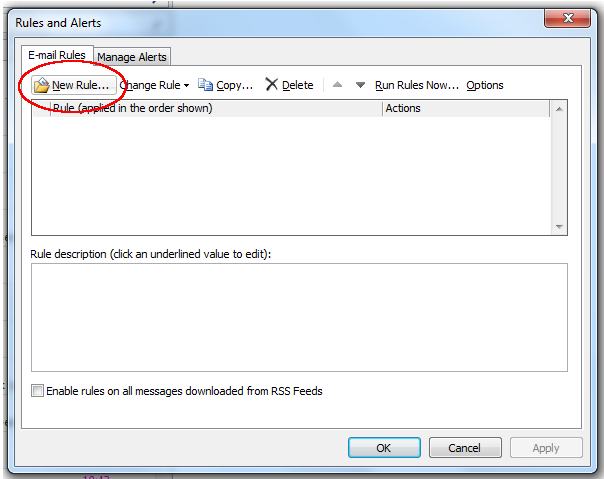
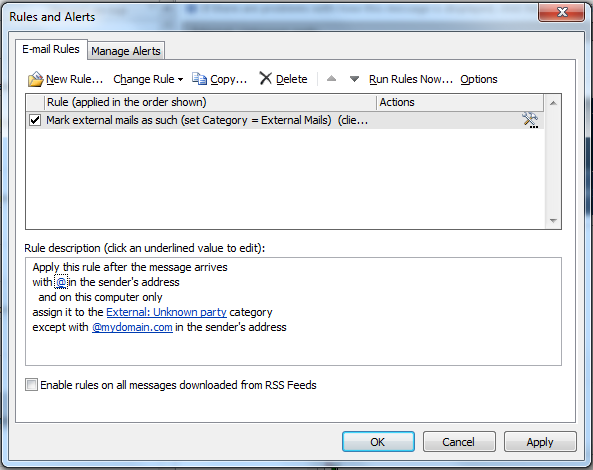
On the ribbon bar in Outlook, select “Manage Rules & Alerts” under “Rules”, on the “Home” tab
Select “New Rule”
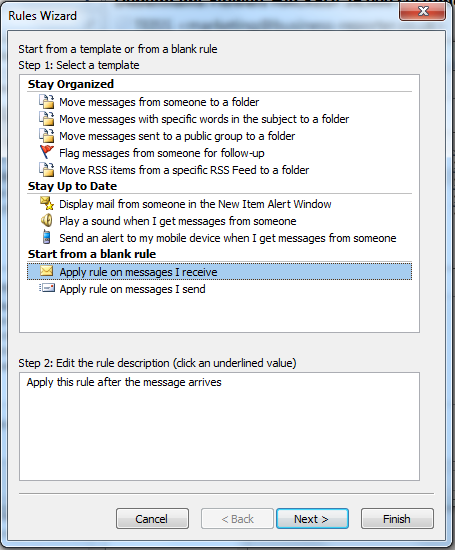
Select “Apply rule on messages I receive”, and click “Next”
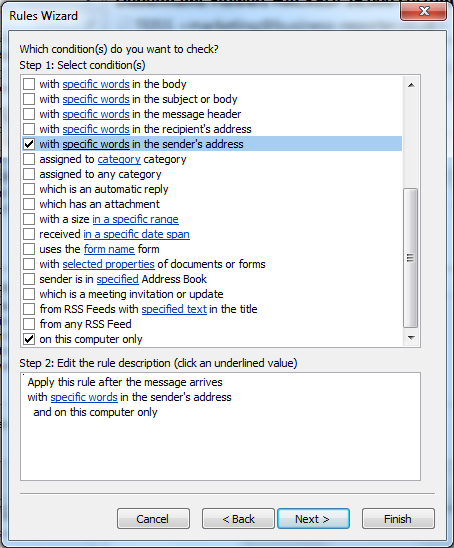
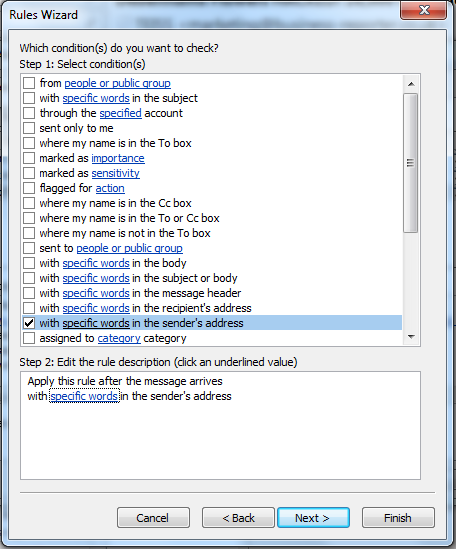
Tick the checkbox next to “with specific words in the sender’s address”, and “on this computer only”
Then click the “specific words” link in the lower section of the window.
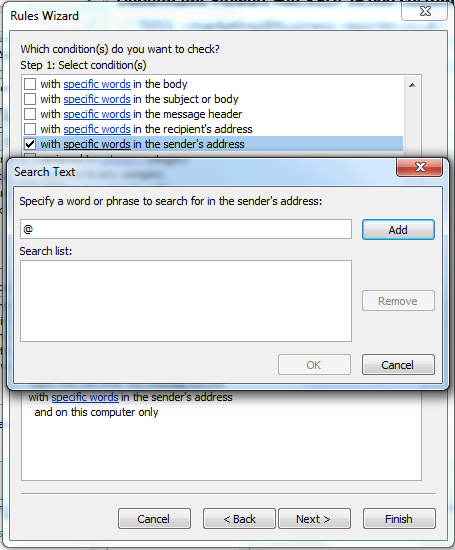
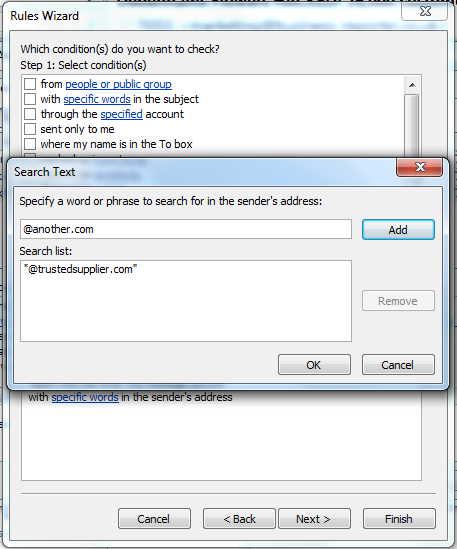
Specify “@” as the word/phrase, click “Add”, and then “OK”
Click “Next” once, when returned to the previous window.
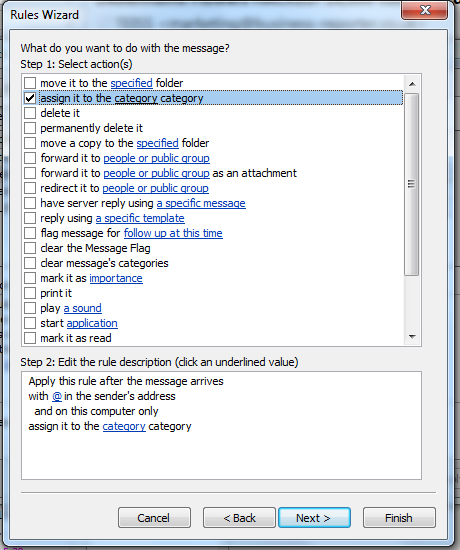
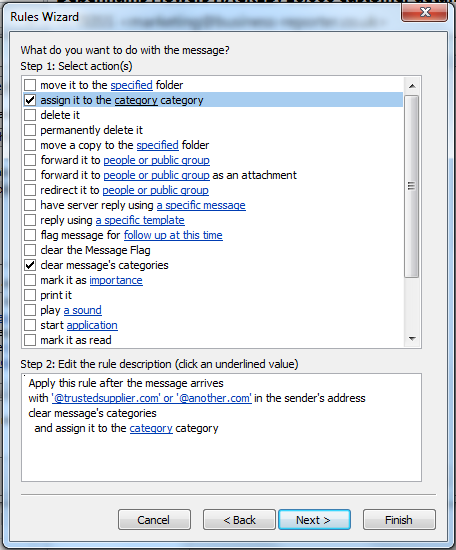
Tick the checkbox next to “assign it to the category”
Then click the “category” link in the lower section of the window.
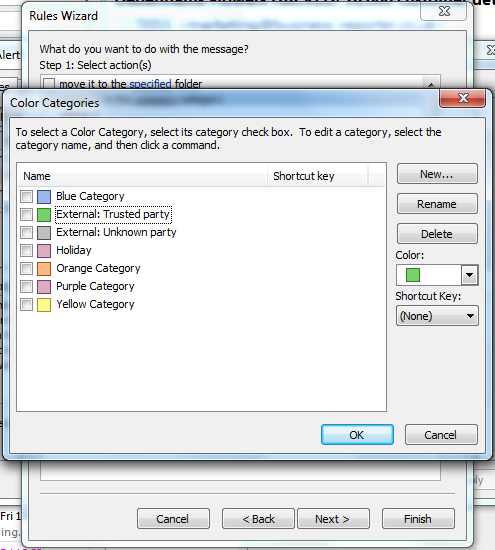
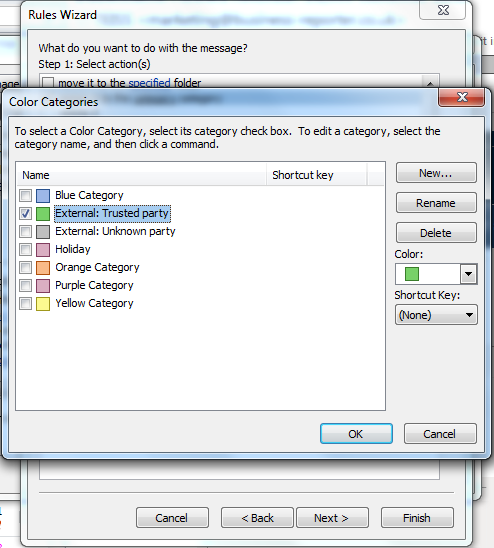
Click “New”, and create a category called “External: Unknown party”. Select a suitable colour to flag such mails (I choose grey to reflect these are unknown mail senders).
Ensure the checkbox for this is ticked before clicking “OK” to return to the previous window.
Click “Next” once, when returned to the previous window.
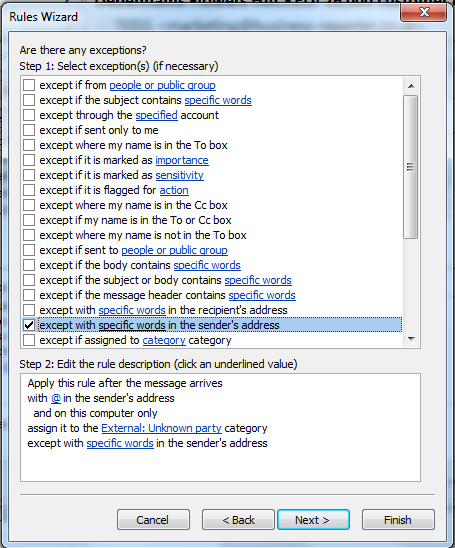
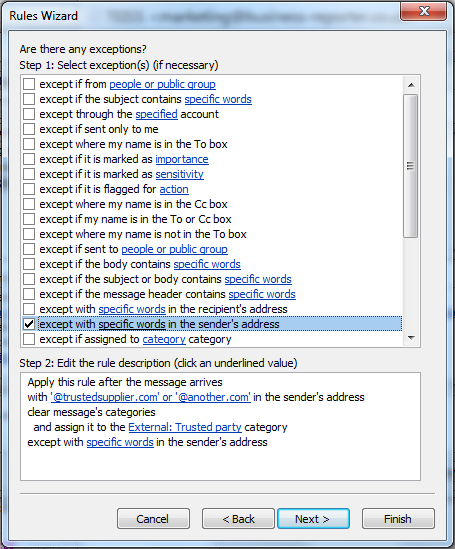
Tick the checkbox next to “except with specific words in the sender’s address”
Then click the “specific words” link in the lower section of the window.
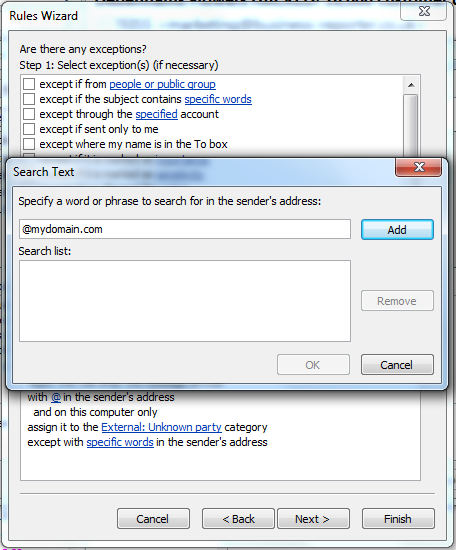
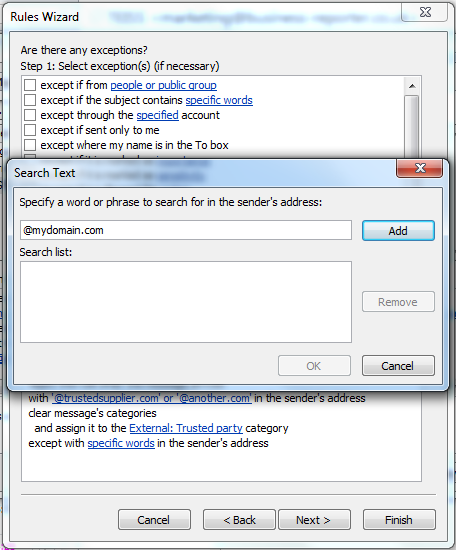
Specify “@mydomain.com” (replacing mydomain.com with your internal company domain name). Click “Add”, add any further internal domain names (if applicable), and then “OK”
Click “Next” once, when returned to the previous window.
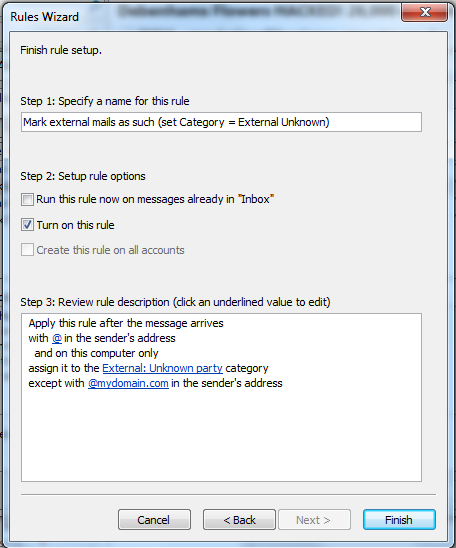
Provide a name for this rule reflecting that it marks ALL external mails as External unknown).
Click finish when done.
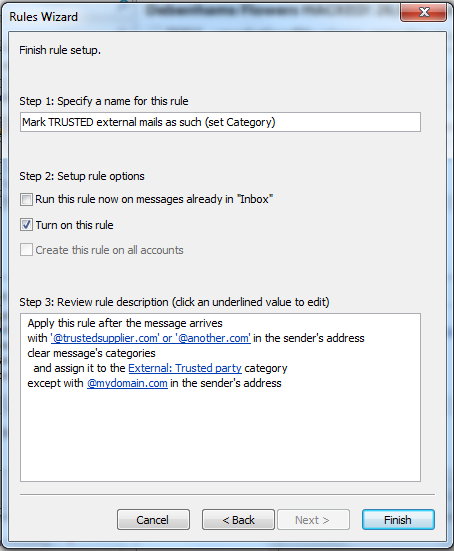
You are now going to setup a second rule, to change the category for KNOWN external senders.
Click “New Rule”
Select “Apply rule on messages I receive”, and click “Next”
Tick the checkbox next to “with specific words in the sender’s address”
Then click the “specific words” link in the lower section of the window.
Add domain names for your trusted external parties. Start each one with the “@” symbol. e.g. “@microsoft.com”.
Click “Add” between each domain.
Click “OK” when you have add your full list.
Click “Next” once, when returned to the previous window.
Tick the checkbox next to “assign it to the category”, and “clear message’s categories”.
Then click the “category” link in the lower section of the window.
Click “New”, and create a category called “External: Trusted party”. Select a suitable colour to flag such mails (I choose green to reflect these are trusted mail senders).
Ensure the checkbox for this is ticked before clicking “OK” to return to the previous window.
Click “Next” once, when returned to the previous window.
Tick the checkbox next to “except with specific words in the sender’s address”
Then click the “specific words” link in the lower section of the window.
Specify “@mydomain.com” (replacing mydomain.com with your internal company domain name). Click “Add”, add any further internal domain names (if applicable), and then “OK”
Click “Next” once, when returned to the previous window.
Provide a name for this rule reflecting that it marks Trusted external mails as External Trusted).
Click finish when done.
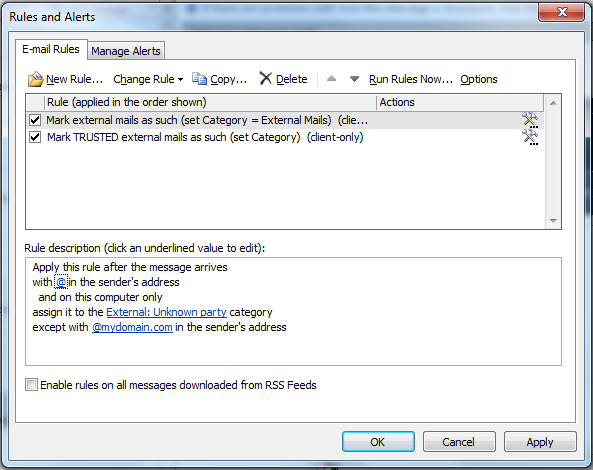
Finally, make sure both new rules have a ticked checkbox to their left.
Then click “apply”.
Optional: At this point you could have “Run Rules Now” against your Inbox, to see the impact.
When done, click “OK”.
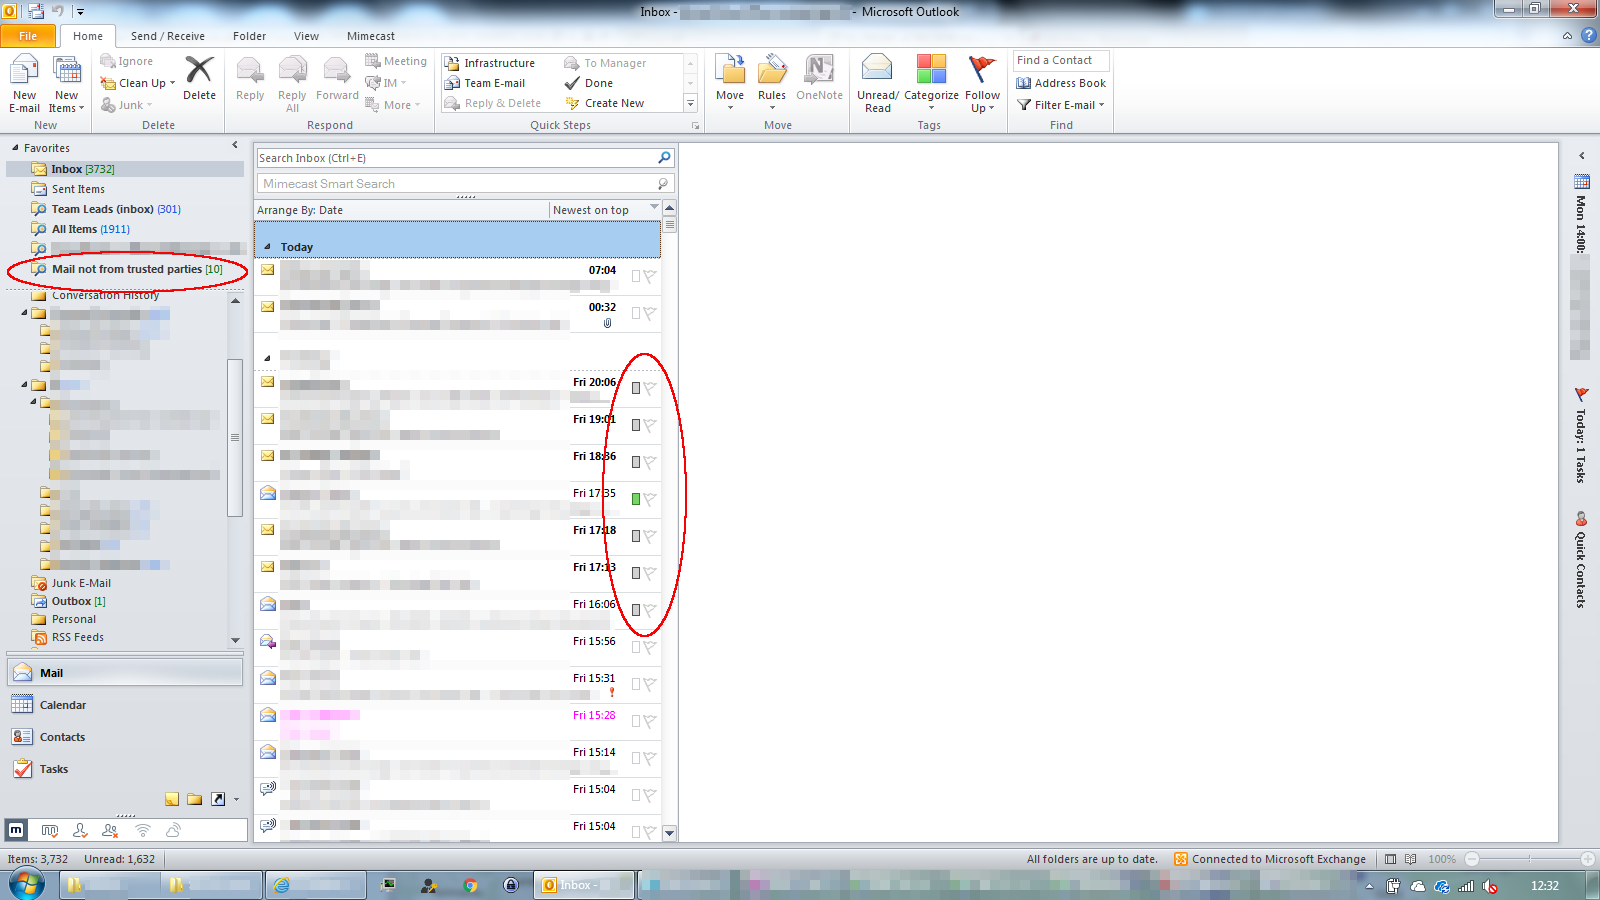
The result is that you will have these colour flags in your Inbox, to help you skip possible spam.
I recommend setting up a search folder to display all mails in the Inbox that have the Unknown party category.
Note:
Please leave comments if this is helpful, as it’s great to know if my effort was worth it!